
| 게시판 | 제목 | 종료일 | 위치 | 글쓴이 | 날짜 | 조회수 | 지도 |
|---|---|---|---|---|---|---|---|
| Map |
강원
정동진 모래시계공원
|
정동진 모래시계공원 | 팔공산 | 2024.03.20 | 6 |
 | |
| Map |
전라
쏠비치 진도
|
쏠비치 진도 | 팔공산 | 2024.03.20 | 7 |
| |
| Map |
서울
서울 이순신장군 동상
|
서울 이순신장군 동상 | 팔공산 | 2024.03.20 | 6 |
| |
| Map |
충청
충주 중앙탑
|
충주 중앙탑 | 팔공산 | 2024.03.20 | 8 |
| |
| Map |
대구
[D - 228]
앞산공원 전망대
|
2024-12-31 | 앞산공원 전망대 | 팔공산 | 2023.03.29 | 32 |
|
| 게시판 | 제목 | 글쓴이 | 날짜 | 조회수 |
|---|---|---|---|---|
| QNA | 2 안녕하세요..팔공산님. 디자인관련해서 .. | 구드한스 | 2010.02.12 | 6962 |
| QNA | 2 팔공산님 홈페이지 최신버전인가요? | 감로수 | 2010.01.30 | 5469 |
| QNA | 2 MH통합게시판위젯에 관하여 문의하고자 합니다. | 조한나 | 2010.01.30 | 6195 |
| QNA |
2
졸졸이 스티커 위젯에 이미지맵 붙이기..도움이 필요합니다.
|
jenon | 2010.01.21 | 4009 |
| 제작의뢰게시판 | 2 Ms_Access로 고객관리 db를 만들어 사용하고 있는데..웹에서 db구축할려고... | 무원스님 | 2010.01.17 | 16 |
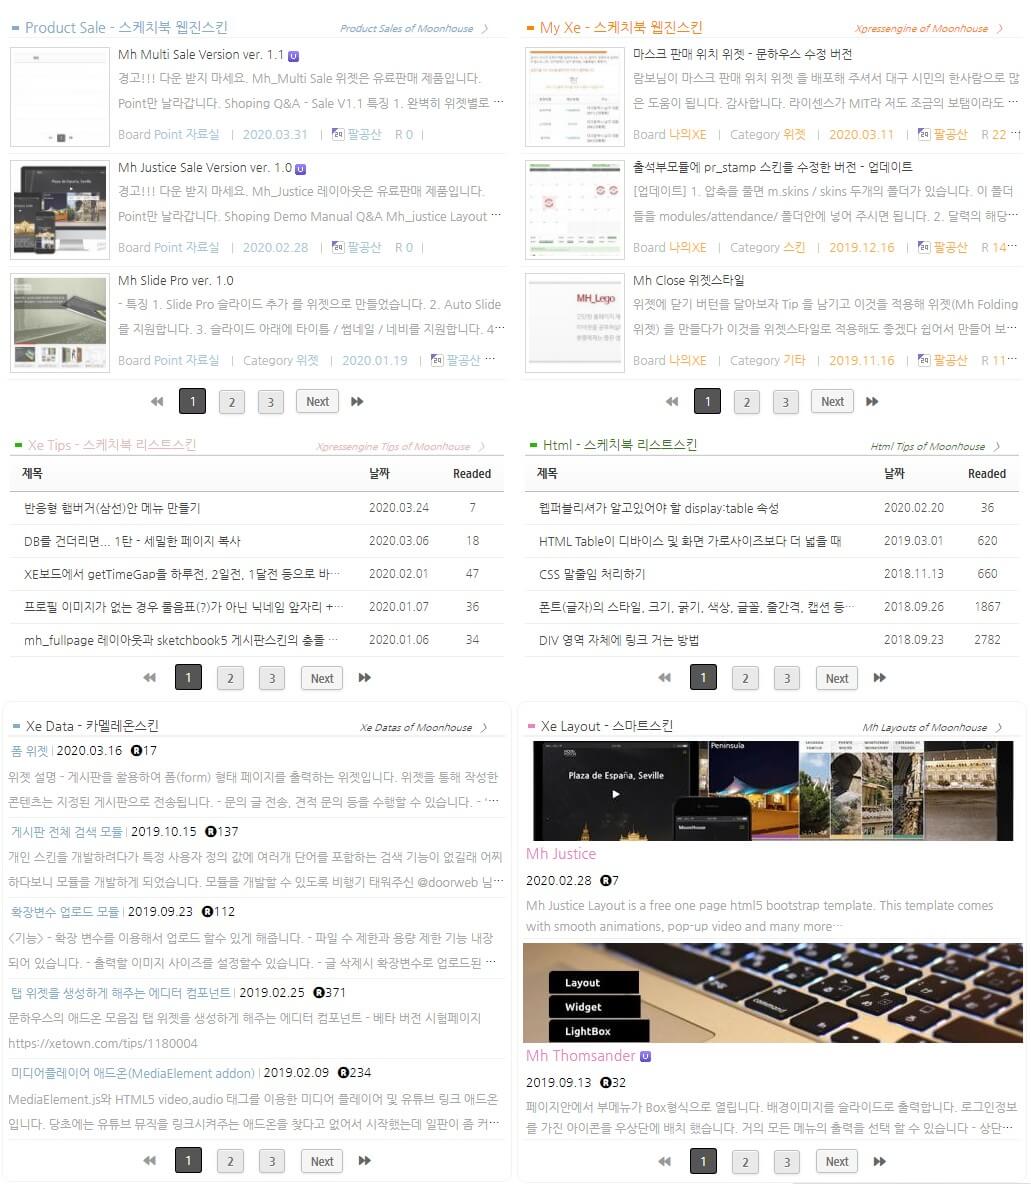
Mh_Multi Widget 특징
It's a multi widget that we've been creating since the XE super window, so you can output widgets in almost any form.
[업그레이드 내용]
•문서내의 모든 이미지를 썸네일로 출력 기능 추가(선택가능)
1. Mh_multi Widget 에 총 5가지 Skin이 포함되어 있으며 Skin 마다 각각 고유의 형테로 구성
• 완벽히 위젯별로 작동합니다.
- 동일 Skin 으로 한페이지에 다수의 위젯을 생성할시 위젯설정에 "위젯 NO"를 다르게 적용

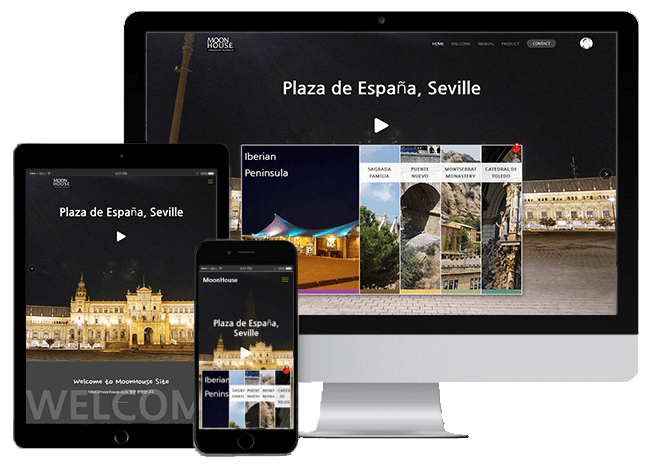
2. 거의 완벽한 반응형(모바일형)으로 츨력이 가능
• 함께 배포되는 mhstyle 위젯스타일 적용시
- https://moonhouse.co.kr/xetip/469297

3. 간단한 설정 으로 색상변경 가능
• 총 9가지 색상 선택

• 위젯 타이틀, 게시물 제목, Hover 테두리, more색상등 변경
• 설정 옵션들에서 자신만의 컬러로 변경 가능
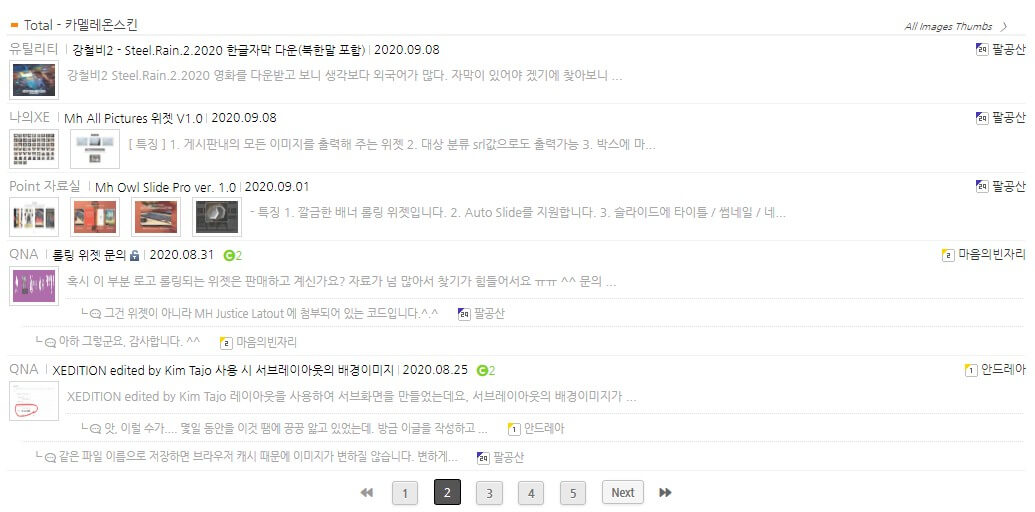
4. 거의 완벽한 설정으로 각 위젯이 카멜레온처럼 변형이 가능
• 페이지기능으로 Total게시판 기능으로 활용
- ajax 기능으로 화면 리플레쉬 없이 작동합니다.
• 모든 항목을 추가, 제외 가능 - 썸네일, 테두리, 위젯타이틀, 제목, 내용, 글쓴이, 날짜등
• 모든 항목의 색상 지정 가능 - 테두리, 제목, 내용, 바탕색, Hover색상등
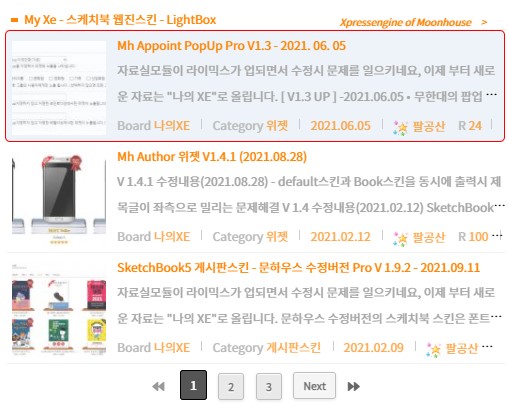
5. 썸네일 클릭시 3가지 형태로 츨력가능
• 기본적으로 게시판으로 연결
• Right Box 형식으로 출력

• Zoom 형식으로 출력
6. 다양한 설정
• 대상 모듈의 대상 분류 srl값으로도 출력 가능
• 내용글 세로 칸 수를 지정해서 공간의 여백을 최소화
• 댓글 출력가능
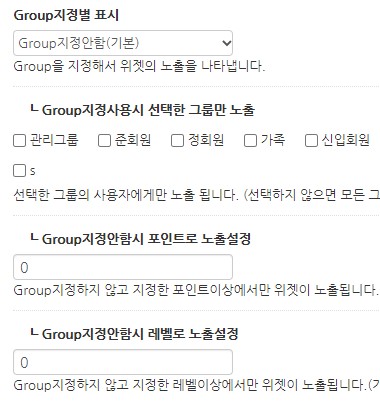
• 그룹별, 포인트별, 레벨별로 출력 가능
• 모듈명, 분류명 출력 가능
• 확장값 출력 가능
7. MoonHouse 자료들은 폰트어썸과 Sexy Button 그리고 말풍선(툴팁) 애드온들이 자주 사용됩니다.
Web Fonts Addon / 말풍선(툴팁) 애드온을 설치해서 애드온들을 활성화 시켜야 아이콘과 버턴들이 정상적으로 출력됩니다.
페이지기능을 지원하는 Widgets의 경우는 "위젯 케시를 0" 으로 둬야 정상 작동합니다.
Mh_Multi Widget 메뉴얼
1. 총 5가지 Skins
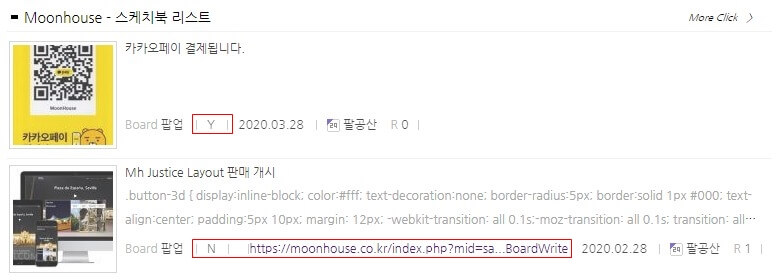
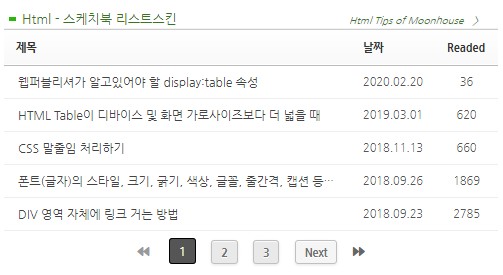
1. Sketchbook5 Webzin 형태

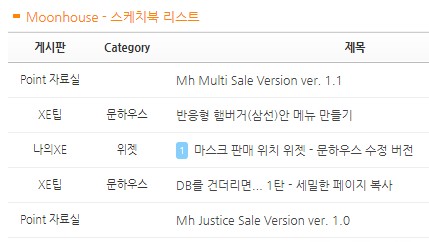
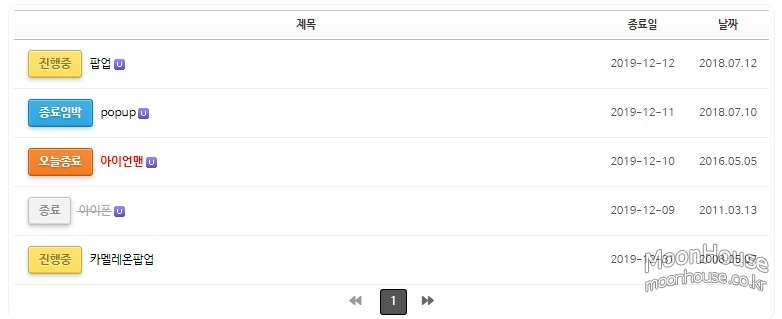
2. Sketchbook5 List 형태
•SketchBook5 게시판스킨 - 문하우스 수정버전 Pro 와 연동하여 날짜지정 종료/진행중/종료임박/오늘종료 버턴을 출력할 수 있습니다.
- https://moonhouse.co.kr/xetip/506303
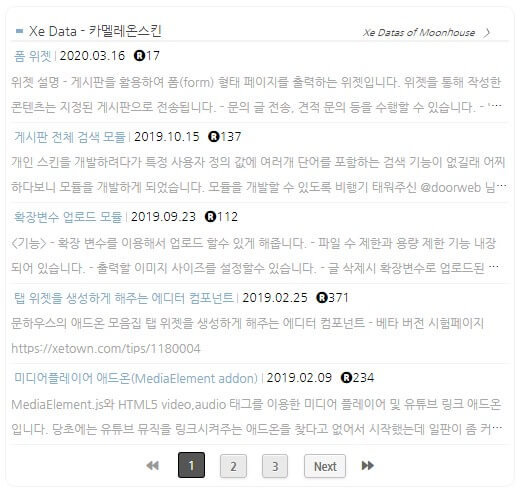
3. chameleon 형태
4. Smart 형태
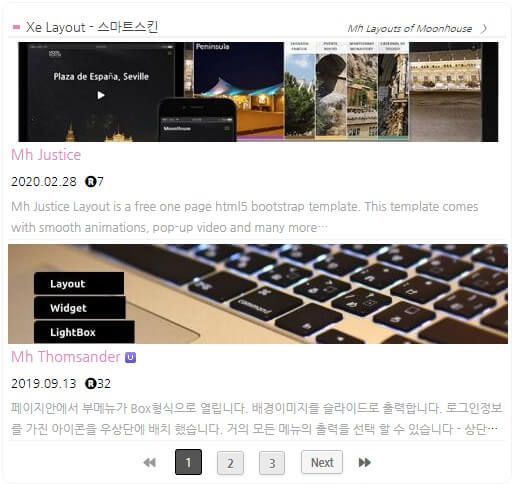
5. Scroll - 공지사항형태

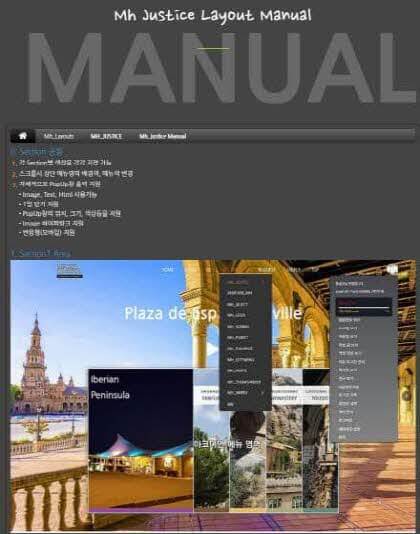
This area displays Product Sales made by Moonhouse.
Mh Justice Layout is a one page html5 bootstrap template.
This template comes with smooth animations, pop-up video and many more…
1. As soon as onePage is operated and the bootstrap and animations are applied, the animation is output in each section.
2. Almost perfect response (mobile)
3. Built-in various self-programming programs • accordion menu • iPhone background login pop-up • Background slide • Notice pop-up window

It's a multi widget that we've been creating since the XE super window, so you can output widgets in almost any form.
1. Works perfectly per widget. - Old versions create multiple widgets on one page with the same skin, causing problems with page function or multiple places
2. Add shortcut to on the title bar the top of the two.
3. can print out the source, without using a using the image output rightbox.


